

Good Morning!!! Cat & Nat from The Blue Crew here with another "Love Bug" feature. Today, we are sharing our Straw Toppers and Lunch Box Notes that we created with materials found in the newest Front Porch Kit, "The Greatest of These is....LOVE". If you don't already have this kit, you can purchase it here or at the Little Blue House. Hurry, though.....supply is limited and this has been a very popular kit.

Let's get started.
Straw Topper Supplies:

- Paper straw (not included in kit)
- Black cardstock
- Pink tonal polka dot patterned paper
- a word strip from the "Kiss Kiss" patterned paper
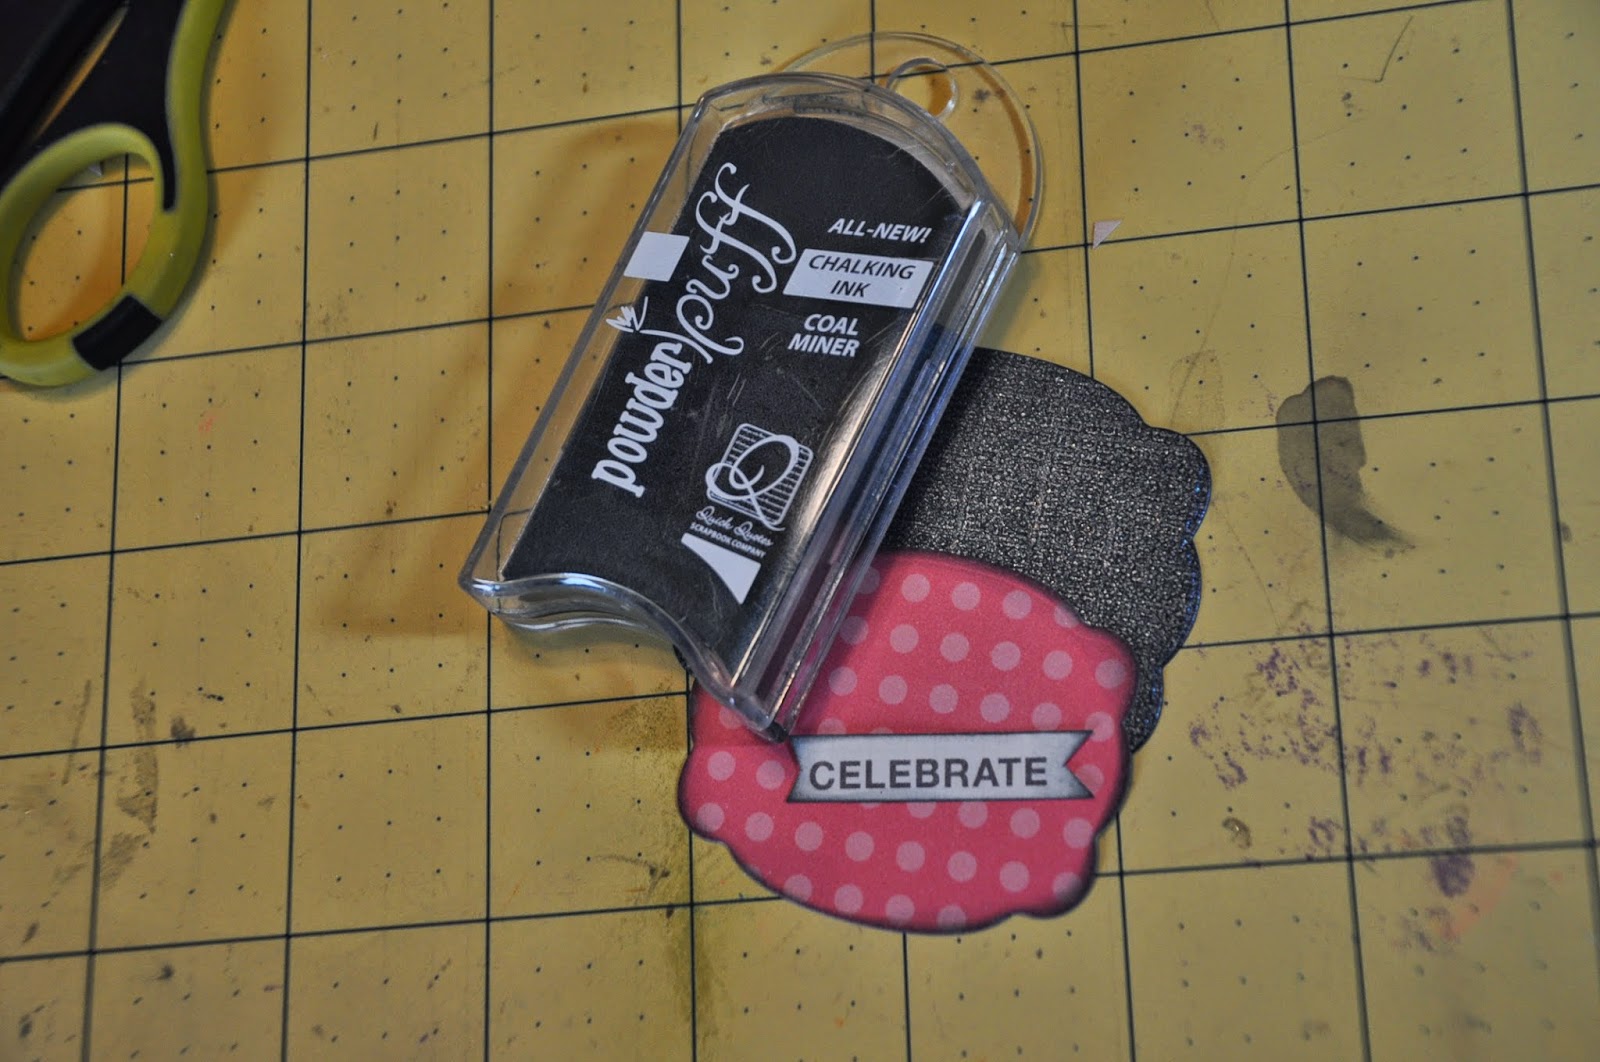
- "Coal Miner" chalk ink (not included in kit, or in picture)
- Diamond stickles (not included in kit)
- "Give Thanks Label" Reverse Confetti die (sold at Little Blue House)
- Exacto knife (not included in kit)
- Adhesive (not included in kit)
- Ruler (not included in kit)
How To:
- Die cut the larger "label" from the black cardstock and the smaller "label" from the pink polka patterned paper.


- Trim word strip and "kite" the ends. Ink both "labels" and word strip with Coal Miner ink
- Place adhesive on top and bottom of the back of pink polka paper (your cuts will be in the middle for the straw) and adhere to the black cardstock

- With a ruler as your guide, cut 2 1" slits at the top and bottom of the labels. I used the notches on the labels as my guide.

- Run straw through slits and adhere word strip. Finish by accenting some of the polka dots with Diamond stickles


 |
| Carter approved! |
These toppers would also work as pencil toppers for a class favor and/or Valentine.
Lunch Box Notes supplies

- 2x4 strip of white cardstock
- 1 3/4" square piece of the "emoticon" patterned paper
- Chipboard arrow
- Dark Pink Wink of Stella (sold at Little Blue House)
- "Coal Miner" Chalk Ink (not included in kit)
- Heart sticker
How To:
- Paint chipboard arrow with Dark Pink WOS and set aside to dry. This may take 2-3 coats as the chipboard really soaks in the pigment. You can also use a heat gun to speed dry time.

- Fold white strip in half to make a 2" square card
- Ink card and "emoticon" paper with Coal Miner ink and adhere "emoticon" paper to white card, centering and leaving a small white border

- Adhere chipboard arrow pointing to a "face" of your choice

- Place heart sticker inside the card and write message.

These make cute little lunch box notes to send with your child (or even your sweetie to work).
Thanks so much for joining us today for two fun and quick projects. Don't forget to comment to win a Love Bug Prize Bag. Winner will be announced on Valentine's Day.
XOXO
The Blue Crew, Cat & Nat


.jpeg)
.jpeg)
.jpeg)
.jpeg)
.jpeg)
.jpeg)
.jpeg)
.jpeg)
.jpeg)
.JPG)
.jpeg)
